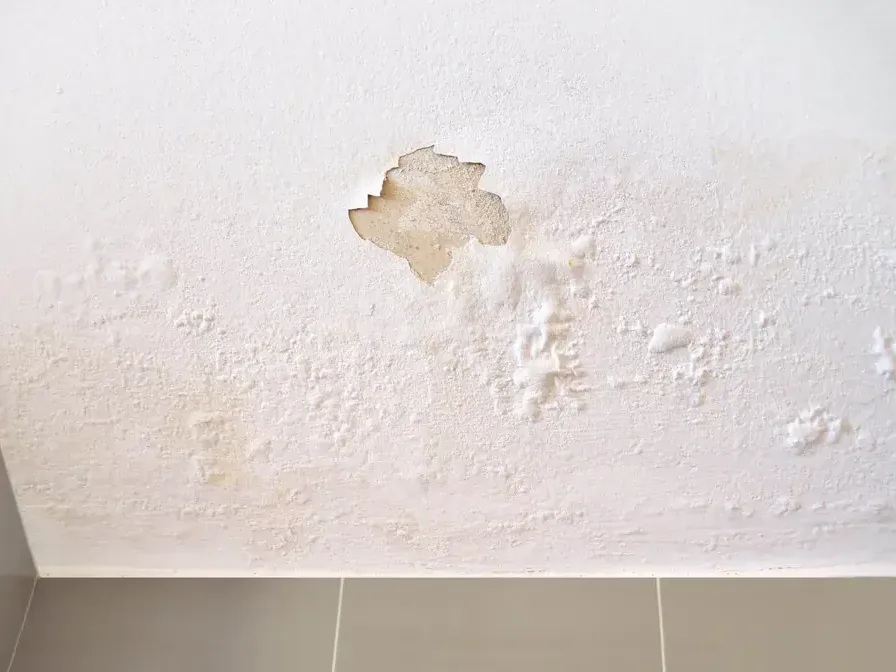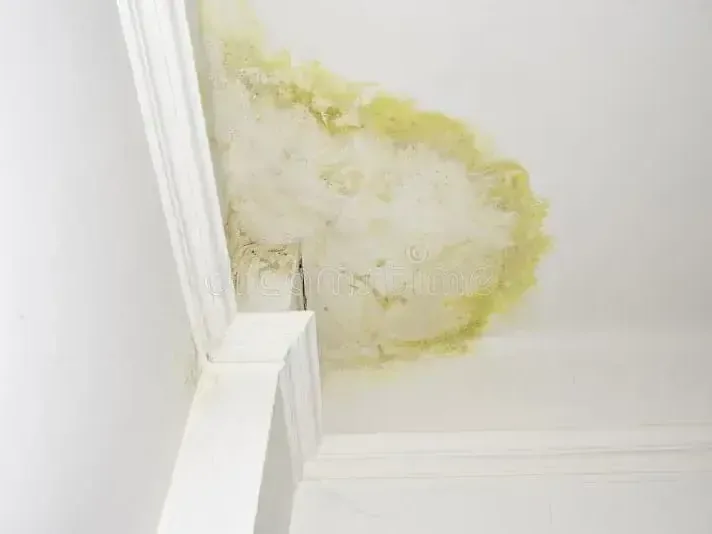
A roof stain is a destination, not necessarily the entry point. Water can cross decking, framing, insulation, and fastener paths before reaching the ceiling surface. The restoration inspection begins indoors and in accessible attic areas while the roof source is being made weather tight by the appropriate trade.
Safety comes before opening a wet ceiling
Ceiling material can lose strength as water accumulates above it. Occupants should stay away from bulges, loose texture, wet fixtures, and active dripping around electricity. The crew checks the area from safe positions, protects the floor, and relieves trapped water only under controlled conditions.
- Keep furniture away from the drip zone
- Do not press or puncture a sagging ceiling
- Mark stains that grow during changing weather
The attic tells a different part of the story
Insulation may absorb water while framing nearby remains only partly affected, or a narrow framing route may carry water beyond the wet insulation. Each material is checked on its own. Controlled removal creates access for cleaning and airflow without spreading loose material into occupied rooms.
- Inspect sheathing, rafters, and insulation independently
- Follow staining across framing connections
- Check wall tops below the attic route
Interior drying follows source control
A roof repair does not remove moisture already inside the building. Damaged ceiling material and wet insulation are addressed first. Retained framing, drywall edges, and flooring below receive air movement and dehumidification based on their readings, with monitoring continued until the trend reaches dry references.
- Photograph the route before removal changes it
- Set equipment around retained structural materials
- Record final readings before repairs close the cavity