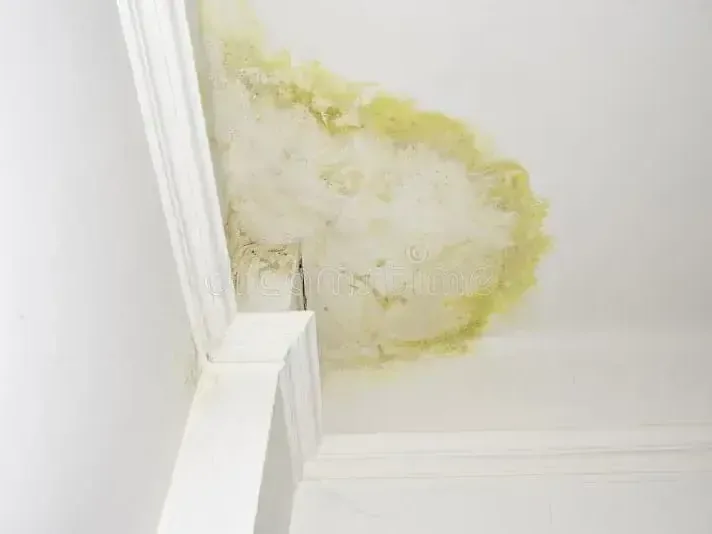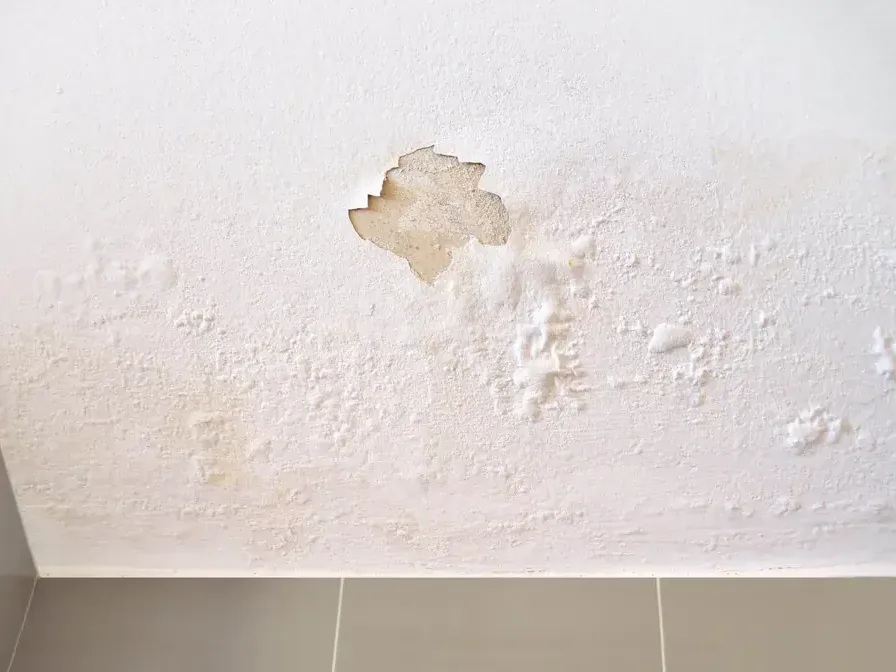
Ceiling water deserves immediate caution because the finish can hold weight above an occupied space. A small stain can spread between framing members or collect around a fixture. The response combines source investigation above the room with safe control of the material below it.
Protect people and contents before chasing the stain
The area beneath a bulge, crack, wet fixture, or falling texture is cleared. Contents outside the hazard zone may be moved or covered. The crew prepares floor protection and controlled access so drainage or removal does not release wet debris across the rest of the room.
- Keep occupants beyond the affected ceiling boundary
- Turn wet fixtures out of use without touching them
- Move valuables only from a safe approach
Find whether water came from above or outside
Upper floor plumbing, a failed appliance, or roof entry can create similar marks. The pattern, current weather, fixture use, and readings in the space above help narrow the source. Restoration waits for source control while the crew maps any water that traveled along framing.
- Inspect the room or attic directly above
- Compare the stain with plumbing and roof routes
- Check adjoining ceiling bays and upper wall edges
Openings serve safety and drying
Soft drywall, wet insulation, and trapped water may justify controlled removal. Sound portions stay when condition and access allow. Once the wet assembly is visible, framing and retained edges receive targeted airflow and dehumidification, with final readings required before patching begins.
- Mark the measured wet boundary before cutting
- Remove loose material into a protected work area
- Verify framing and wall tops before closure
The protected work boundary stays larger than the measured opening so wet debris can be lowered without affecting clean contents.