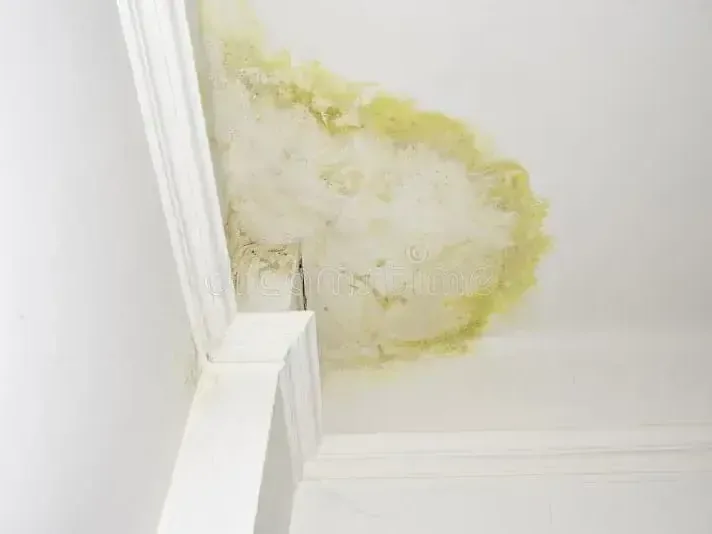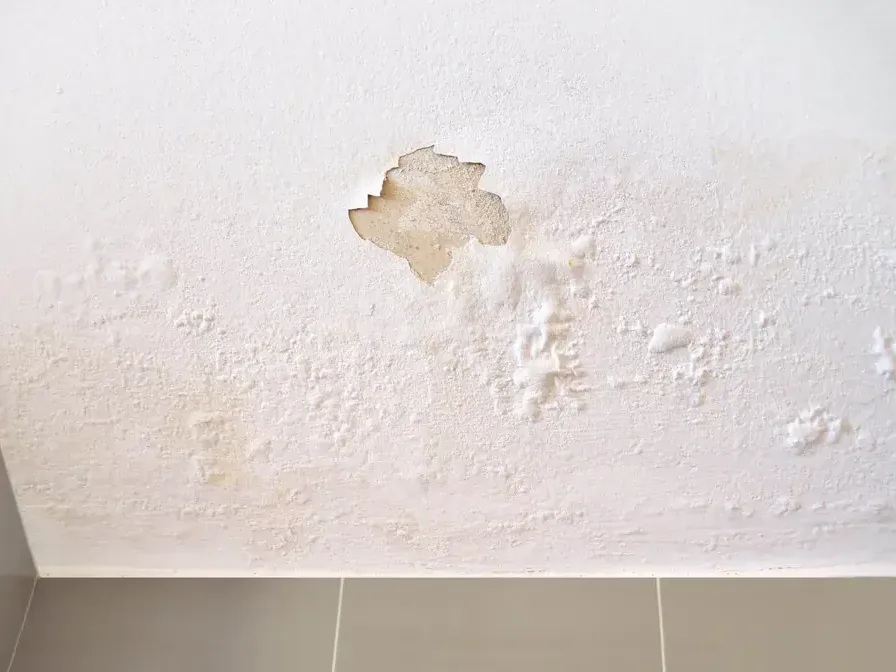
A ceiling stain is both a source clue and a material safety concern. Water weight can loosen drywall or insulation before a large drip appears. The response establishes a clear floor boundary, protects nearby contents, and investigates the room, plumbing, or roof conditions directly above.
The room is organized around overhead risk
People stay outside the area beneath bulges, cracks, wet texture, and involved fixtures. Contents are shifted from safe edges or covered without entering the fall zone. Floor protection is wider than the proposed ceiling opening so wet debris can be lowered into containment.
- Keep occupants beyond the marked ceiling boundary
- Avoid switches connected to wet fixtures
- Preserve a clear route for controlled debris removal
Source evidence above determines the next opening
The crew compares weather, fixture use, appliance activity, pipe routes, and readings in the space overhead. Intermittent leaks need another source check when the fixture operates or rainfall resumes. Stains and material measurements across adjoining bays reveal whether water crossed beyond the first visible mark.
- Inspect the upper room or attic when accessible
- Check wall tops and framing beside the stain
- Confirm source control before finish restoration
Ceiling access must improve safety or drying
Soft drywall, trapped water, and saturated insulation may require removal. Sound dry edges remain intact. Once the cavity is visible, retained joists, wall plates, and finish borders receive targeted airflow and dehumidification until readings support reconstruction.
- Mark wet boundaries before cutting begins
- Remove loose material through the protected route
- Record final cavity readings before closure
After the first opening, newly visible framing and insulation are measured before the crew decides whether the boundary should expand or stop.
The last overhead inspection also checks adjacent bays for isolated damp edges before the cavity is released.