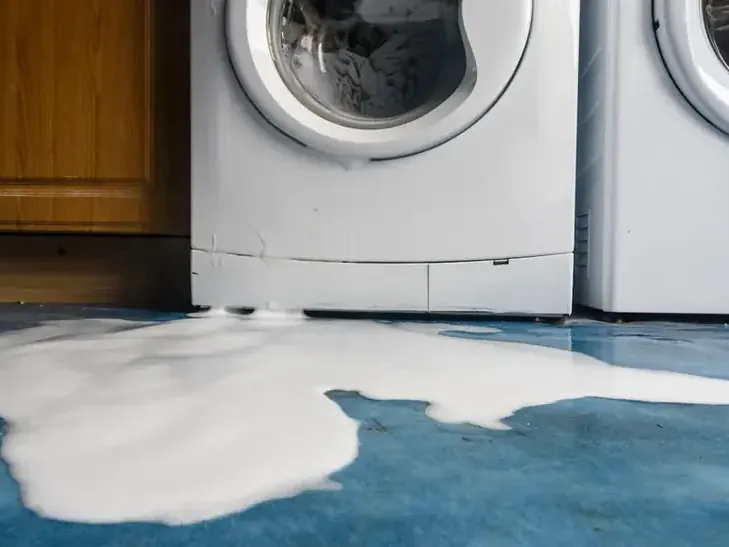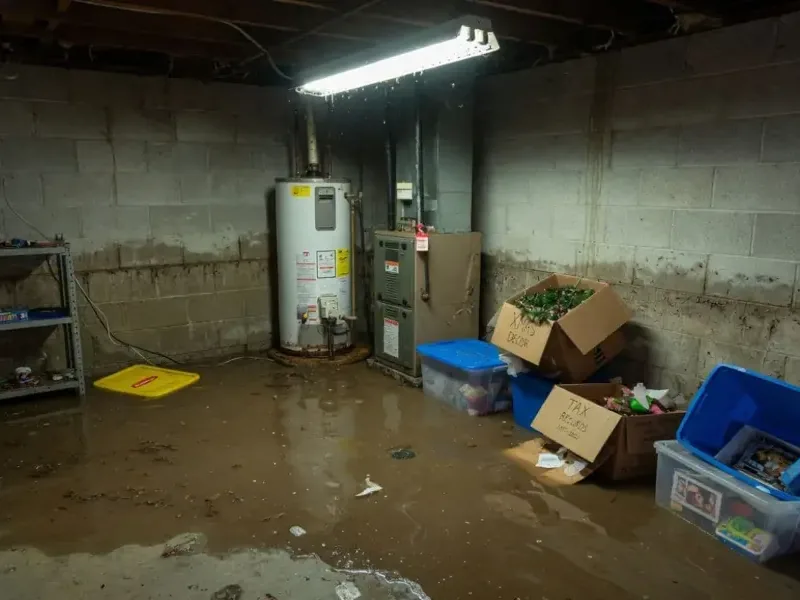
Water heater releases vary from a slow fitting leak to a sudden tank failure. The amount on the floor does not show how much reached a wall, cabinet, floor seam, or lower room. The inspection starts at the appliance and expands along gravity and material connections.
Make the utility area safe and accessible
Water, electricity, gas, heat, and a heavy tank may all affect the work zone. The appropriate utility and plumbing controls are handled before the restoration crew moves equipment close to the unit. Standing water is extracted from safe access points while appliance service is coordinated separately.
- Keep clear of hot water and wet electrical components
- Preserve access for the appropriate repair trade
- Photograph the tank base and visible source area
Floor systems can hide most of the loss
Water can pass beneath resilient flooring, along grout edges, under carpet pad, or through a utility platform. Readings across transitions and walls show whether surface extraction is enough. A room below is inspected when the tank sits above finished space or openings suggest downward travel.
- Check seams and transitions around the utility area
- Inspect trim and wall bases on every wet edge
- Measure the ceiling below when the route supports it
Drying begins after removal decisions
Swollen trim, damaged flooring layers, and wet insulation may block airflow. The crew opens only the measured area needed for inspection and drying. Dehumidification and air movement then address the remaining structure, with separate readings for concrete, wood, drywall, and framing.
- Remove trapped wet material that cannot recover
- Keep equipment from blocking repair access
- Document material response until goals are met
The measured boundary is checked again after the tank moves because hidden water may appear beneath its former position.