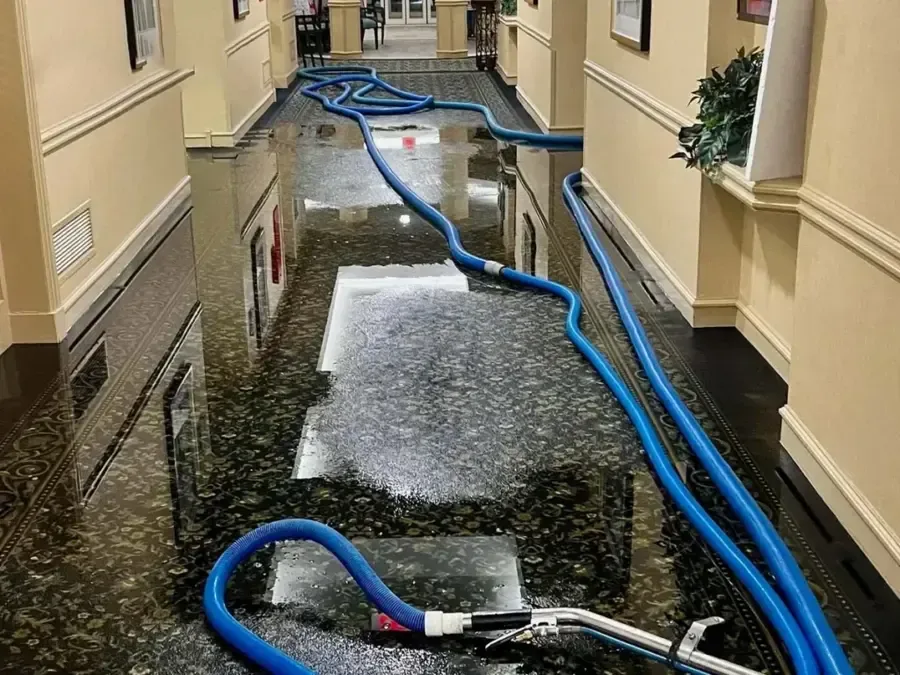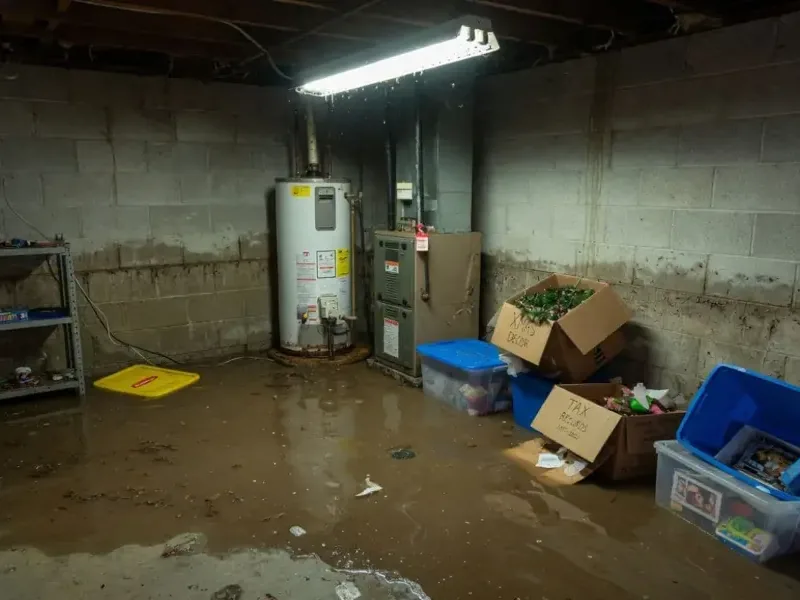
A failed water heater may release water across a basement, closet or garage, but no single placement applies to every local building. Technicians begin with the location actually present, coordinating around safe supply and energy control before extraction. Nearby storage and adjoining rooms receive attention from the start.
The utility area is only the starting point
Water spreads away from the tank along floor seams and low spots. On hard surfaces it may travel widely, while carpet or underlayment can absorb it near the edge. The crew removes open water, relocates dry contents and tests walls, flooring and connected spaces. The replacement appliance remains separate from restoration work. Initial photographs clearly record the release area and nearby contents.
- Confirm safe shutoff and replacement status
- Extract around the tank footprint
- Move unaffected storage from the edge
- Check adjoining walls and floors
Floor construction changes the drying approach
Concrete, wood subfloor and layered finishes hold moisture differently. Near Clear Creek, Lookout Mountain and US 6, technicians do not assume one local foundation or utility arrangement. Meter readings and access determine whether a finish can dry in place, needs lifting or requires removal because water remains trapped underneath.
- Test the base beneath floor finish
- Inspect wall plates near pooling
- Open only where moisture stays trapped
Monitoring continues after the puddle disappears
Air movers support surface evaporation while dehumidifiers collect released moisture from the space. Technicians record material response during return visits, repositioning equipment where readings remain elevated. Final comparison measurements establish that retained flooring, walls and framing are ready for the separate appliance installation and finish repair work with clear closeout evidence.